The following guide will show you how to build a basic page in WordPress for displaying posts.
1 – In WordPress, go to Pages – Add New
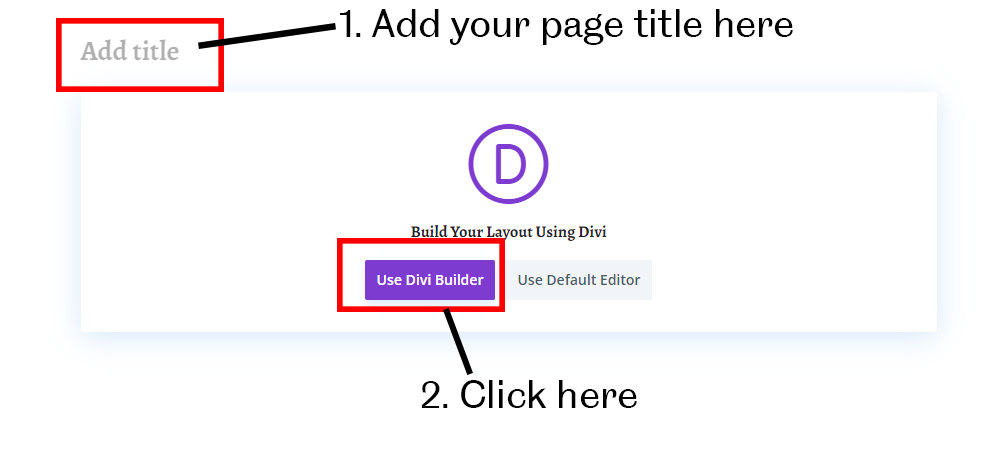
2- Give your page a name, then click “Use Divi Builder”:
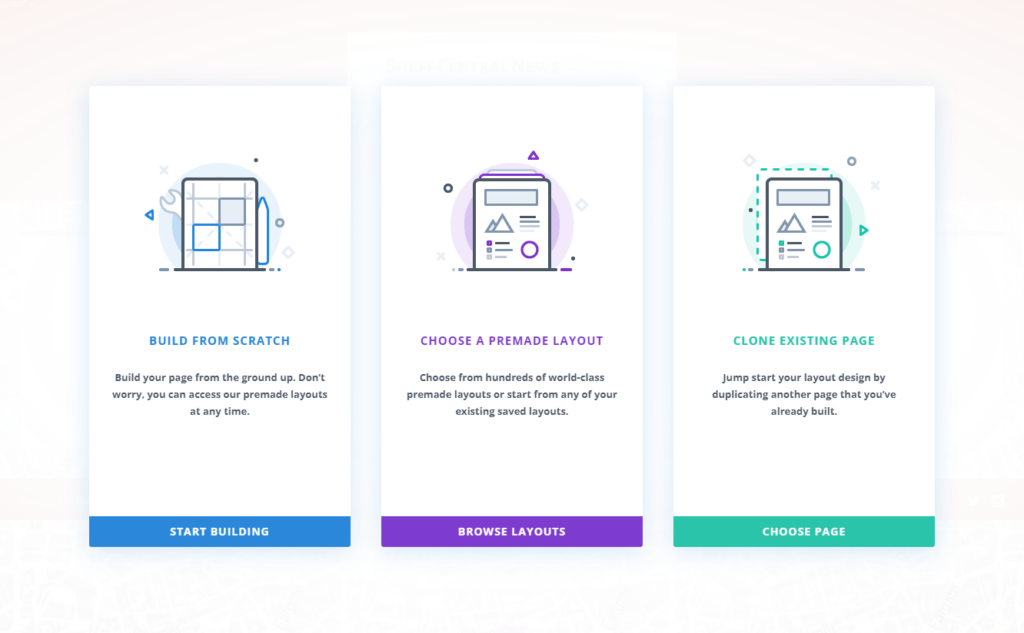
3 – Click “Build from Scratch” to start building a new page. Alternatively, if you have previously saved a page to your library, you can select “Choose a Premade Layout”, or “Clone Existing Page” to copy a page you have previously made.
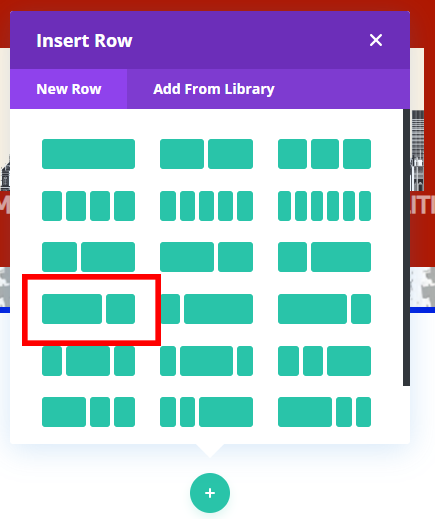
4 – Choose a column structure. All websites are built in rows. Each row contains a number of columns. For example, you might have a headline story which spans the entire page (one column), or a headline story across the left two thirds of the page, followed by a list of stories in the right hand third as per the below:
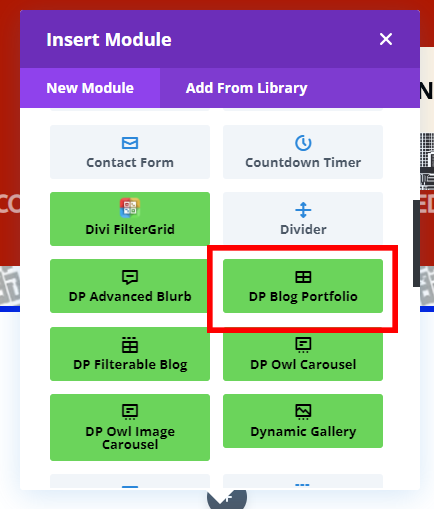
5 – You will then be prompted to select a Module. Modules are a content element, represented by a block. This can be a block of text, an image, or something more dynamic such as a collection of posts defined by post category.
In this example, I will choose “DP Blog Portfolio”. Usually, “Blog” refers to something which displays posts.
Each module has unique options to customise it’s functionality and appearance, so you may want to test a few different modules to see which works best for your design.
6 – You will then be given customisation options for your module. In the DP Blog Portfolio, I can specify posts from specific categories to appear, how many posts I want to appear and other details within the “Content” tab. In the “Design” tab, you can specify design details, such as the font, spacing and colours used in that module.
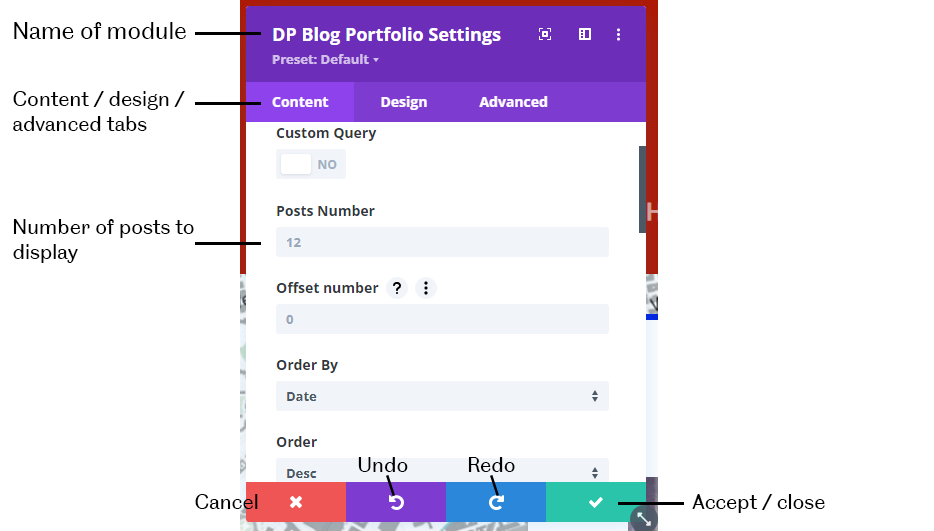
7 – When you have finished customising the module, click accept and close.
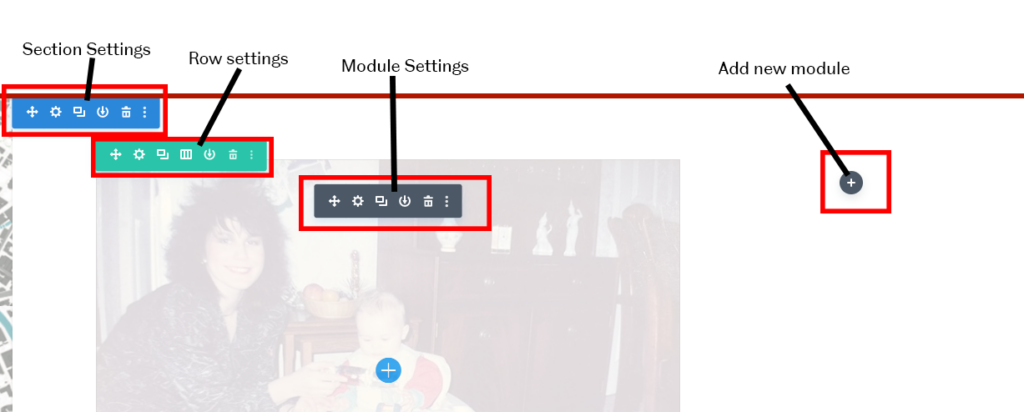
You can go back to your Module Settings by clicking on the cog / gear symbol in the grey menu when you hover over the module.
The Green “Row Settings” will allow you to change the number of columns on your row, or customise other options for that row, such as the background colour and the size.
The blue “Section Settings” allow you to customise that section of your web page.
8 – To save your page, click the three dots in the purple circle, followed by “Save Draft” or “Publish”. Publish will make your page live and viewable on your site.
The menu will also give you additional options to delete your page, save it to your library for use as a template elsewhere or view the editing history.